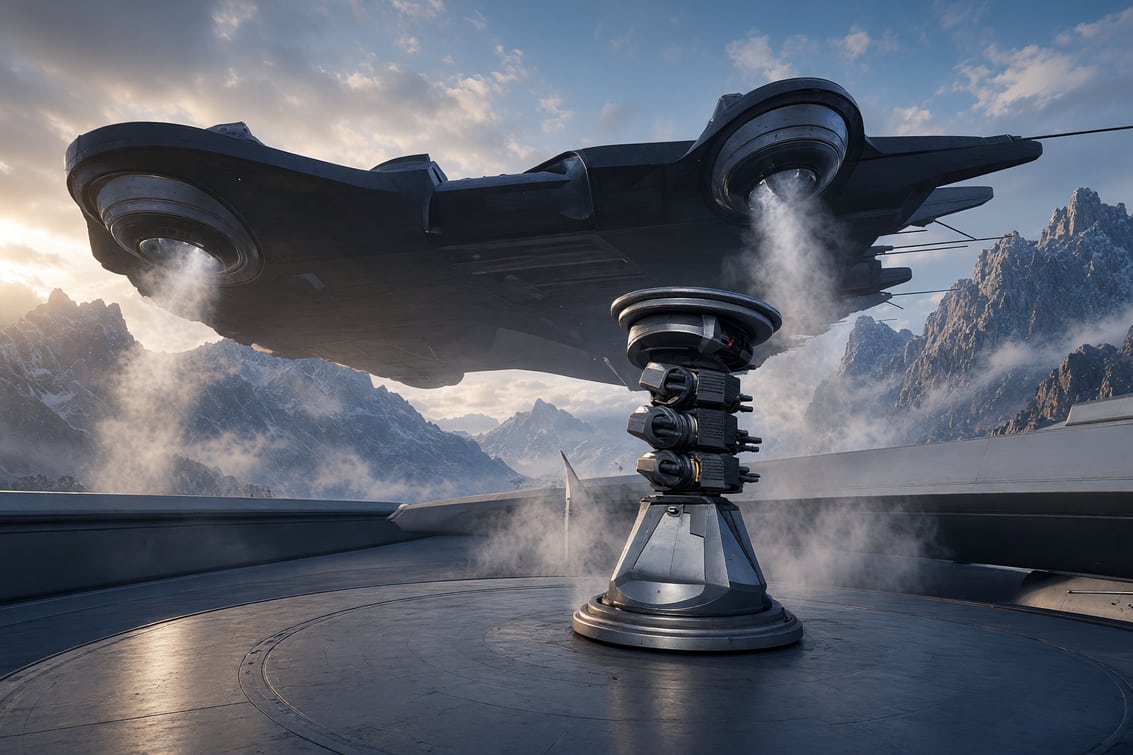
Surviving a Hydra Encounter: Positioning and Combat Tips in ARC Raiders
Hydra encounters demand careful positioning because its weapons can apply pressure from multiple angles. A Lure Grenade can draw the attention of some weapons, but it does not guarantee full protection for your squad. Following the latest behavior adjustment, certain weapons may target the lure while others continue tracking Raiders, making movement and cover essential throughout the fight.
The safest approach is to separate the Hydra’s attention from your position, attack during brief openings, and relocate before incoming missiles make your cover unusable. Keep suitable ARC Raiders Items ready before entering a fight, especially recovery supplies and utility equipment.
1. Choose Your Position Before Starting the Fight
Do not open fire as soon as you spot a Hydra. First, check the surrounding terrain and identify:
- Two solid cover positions within reach of each other.
- A route that does not require crossing a large open area.
- Nearby ARC units that could interfere with the fight.
- The nearest practical extraction direction.
Buildings with multiple exits are generally safer than small rooms or dead-end structures. Avoid positions where the Hydra can pressure your only escape route.
If you cannot identify a second cover position, relocate before engaging. A good starting position saves more resources than trying to recover from a bad one.
2. Place the Lure Away From Your Firing Position
A Lure Grenade should create distance between the Hydra’s diverted attention and your actual position. Throwing it directly beside your squad provides little separation and leaves you exposed to weapons that continue targeting players.
Three placements are worth considering:
- Behind a separate structure: Use the lure to draw part of the Hydra’s attention away while your squad stays behind solid cover.
- Below your position: A lower elevation can create an opportunity to attack from a different angle. Avoid standing on an exposed edge.
- Away from your retreat route: Use the distraction to move toward safer cover without running directly into the Hydra’s line of sight.
Do not treat the lure as a guaranteed opening. Watch the Hydra’s weapon direction after deployment and move immediately if other weapons remain trained on your squad.
3. Attack Only When the Hydra Gives You an Opening
The most useful damage windows occur when the Hydra turns toward the lure, changes position, or finishes an attack sequence. Use these moments to target exposed components and deal controlled bursts of damage.
Avoid holding the trigger while the machine is facing your position. If your shots are hitting heavily armored sections without effective damage feedback, change your angle or wait for a better opportunity.
A practical attack cycle is:
- Stay behind hard cover and observe the Hydra.
- Deploy the lure away from your squad.
- Move to a second firing angle if the machine turns.
- Attack exposed components during the opening.
- Return to cover when the Hydra redirects its weapons.
Repeat only while the team has enough ammunition and recovery supplies. Constant firing is not worth losing your position.
4. Rotate Before Missiles Force You Out
Missile pressure is a warning to change positions, not a reason to stay behind damaged cover. Move before the area becomes impossible to hold.
Use a short rotation between two prepared positions rather than sprinting across an exposed area. If smaller ARC units approach during the move, deal with the immediate threat before returning to the Hydra.
A Grappling Hook can help with elevation changes or emergency movement, but check the landing area first. Reaching a rooftop is not useful if it leaves you trapped or directly exposed to another attack.
5. When to Stop Fighting the Hydra
A full kill is not always the best outcome. Before committing to another damage phase, check:
- Whether the required quest or damage objective is complete.
- How much ammunition remains.
- Whether shields and recovery items are still available.
- Whether another Raider squad is approaching.
- Whether the extraction route remains safe.
If the objective is finished or the squad has lost its safe position, disengage. Do not spend your remaining supplies chasing a kill when the extraction is already at risk.
Solo players should be even more selective. Without teammates to watch other angles or provide a revive, short damage bursts followed by repositioning are safer than prolonged engagements.
6. Loot the Wreck Without Losing the Raid
Defeating the Hydra does not make the surrounding area safe. The fight can attract additional ARC units and other Raiders, so check nearby buildings, elevated positions, and approach routes before searching the wreck.
Prioritize the materials and quest items you actually need. Secure valuable loot first, then leave rather than spending too long searching every container.
If another squad arrives, do not defend the wreck simply because you earned the kill. Use nearby cover to break contact and move toward extraction.
The Most Reliable Hydra Fight
A controlled Hydra encounter follows a simple sequence: establish two cover positions, place the lure away from the squad, attack during a change in the machine’s focus, and rotate before missile pressure closes the area. Extraction should remain part of the plan from the beginning.
Players looking to make wider progression more efficient can consider ARC Raiders Boosting, but a successful Hydra run still depends on positioning, timing, and knowing when to leave.